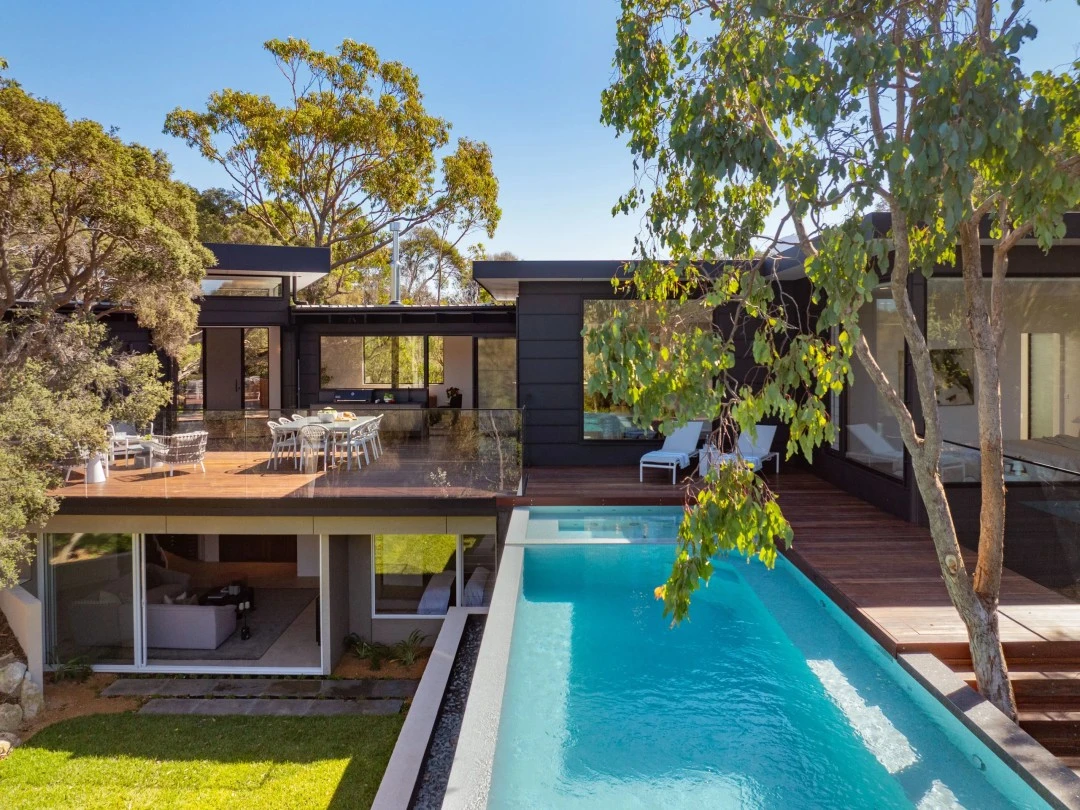
Painting the exterior of your property isn’t just about choosing a fresh colour and grabbing a roller. The most crucial work happens before the paint tin is even opened. Proper preparation ensures your finish not only looks professional but also stands up to years of weather, wear, and exposure.
On the Mornington Peninsula, where coastal salt air, humid winters, and hot summers all take a toll on exterior surfaces, careful preparation is what makes the difference between a short-lived paint job and one that truly lasts. Skipping prep may save a weekend, but it often leads to flaking, fading, or costly repainting down the line.
This guide breaks down the essential preparation steps every homeowner, builder, or facility manager should follow before painting. For extra advice on colour selection and planning, check out why hiring a colour consultant in Mornington is worth the investment.
1. Assess the Condition of Your Exterior
The first step is to walk around your property with a critical eye. This helps you decide whether you need a full repaint or just minor touch-ups.
Look out for:
- Peeling or blistering paint often caused by moisture beneath the surface.
- Mould or mildew patches common in shaded areas or near gardens.
- Cracks in brickwork, render, or timber these should be addressed before painting.
- Signs of water damage especially around gutters, fascias, and window frames.
On the Mornington Peninsula, coastal homes face unique challenges such as salt spray and strong winds. These conditions wear down paint faster, making regular inspections essential.
If you’re unsure whether you need a touch-up or a full repaint, see our exterior painting tips guide for more direction.
2. Clean the Surface Thoroughly
Paint sticks best to clean, dry surfaces. Even if walls look “clean enough,” dust, dirt, and chalky residue can prevent proper adhesion.
Power Washing vs. Hand Scrubbing
- Power washing is ideal for larger areas like rendered walls, weatherboards, or brickwork. It saves time and removes built-up grime.
- Hand scrubbing works best for delicate areas like timber trims or heritage homes where high pressure could damage surfaces.
Dealing with Mould and Mildew
In towns like Sorrento, Mount Martha, or Rye, mould is common due to the combination of shade and coastal moisture. Use a cleaning solution of water and mild detergent, or a specialised exterior wash, to kill spores before painting.
For information on property care and compliance, the Victorian Building Authority has helpful homeowner resources.
3. Repair and Patch Surfaces
Painting over damage doesn’t fix the underlying problem. In fact, it often makes it worse.
Repair checklist:
- Fill gaps and cracks with exterior-grade caulk or filler.
- Replace rotting timber rather than patching, it ensures long-term stability.
- Sand rough spots so paint glides on evenly.
On the Mornington Peninsula, older beachside homes often suffer from wood rot due to salty air and damp weather. Addressing these issues now will protect your property and extend the life of your paint job.
4. Remove Loose and Flaking Paint
If old paint is left behind, new paint won’t stick properly. This leads to peeling within months.
Best practices:
- Use a sturdy paint scraper to lift loose paint.
- Sand the edges of peeled areas to create a seamless surface.
- Dispose of old paint responsibly, especially if it may contain lead (common in houses built before the 1970s).
Always wear a dust mask and goggles during sanding to protect your health. For safety at heights, refer to Safe Work Australia’s guide.
5. Protect Surrounding Areas
Good preparation doesn’t just protect walls, it also protects your garden, windows, and pathways.
How to protect:
- Cover plants, paths, and outdoor furniture with drop sheets or tarps.
- Use painter’s tape to create crisp lines around windows, trims, and edges.
- In breezy seaside towns like Dromana or Rosebud, secure covers tightly so they don’t blow away mid-job.
Taking the extra 30 minutes to cover surfaces saves hours of cleanup later.
6. Prime the Surface
Priming is one of the most overlooked yet critical steps. It ensures new paint bonds properly and creates a uniform base.
Choosing the right primer:
- Timber: Oil-based or acrylic primer to block tannins.
- Masonry: Masonry primer to seal porous surfaces.
- Metal: Rust-inhibiting primer to prevent corrosion.
Allow primers to dry completely, usually 24 hours, before applying paint. On humid coastal days in Mornington Peninsula, curing may take longer, so always check product guidelines.
7. Check Weather Conditions Before Painting
The weather can make or break your painting project.
Ideal conditions:
- Temperature: Between 10°C and 30°C.
- Humidity: Low to moderate.
- Forecast: No rain for at least 24 hours after painting.
Avoid:
- Direct sunlight: Causes paint to dry too quickly and blister.
- Windy days: Dust and debris stick to wet paint.
- Cold mornings or damp evenings: Slow down drying and affect adhesion.
On the Mornington Peninsula, salty breezes can accelerate drying, so plan to paint during calm, mild mornings.
8. Gather the Right Tools and Materials
Having the right gear makes prep smoother and safer.
Tools checklist:
- High-quality brushes and rollers.
- Extension poles and sturdy ladders.
- Drop sheets, tape, and safety gear.
- Paint scraper and sanding blocks.
Invest in quality paint. Premium exterior paints cost more but last longer, especially under the harsh coastal conditions of the Mornington Peninsula. Choosing the right finish, such as low-sheen for weatherboards or gloss for trims, also impacts longevity.
If you’d prefer professionals to handle the process with top-grade tools, see our painting services.
Conclusion
Exterior painting success comes down to the groundwork. By carefully assessing, cleaning, repairing, priming, and protecting, you’ll create a surface that allows paint to perform at its best.
Whether you’re refreshing a beach house in Rye, giving a holiday home in Portsea a facelift, or maintaining a family home in Mount Eliza, these steps will give you a finish that not only looks sharp but also withstands local coastal conditions.
If you’d prefer to save time and guarantee professional results, consider hiring experienced painters who know the Mornington Peninsula’s unique challenges. For more on why a professional might be the smarter choice, read 7 reasons to hire an interior painter in Mornington.
FAQ
How often should I repaint my home’s exterior on the Mornington Peninsula?
Typically every 7-10 years, though coastal properties may need more frequent repainting due to salt exposure.
Do I need to remove all old paint before repainting?
Not necessarily. Only loose or flaking paint needs to be removed. Sound paint can be sanded lightly and painted over.
What’s the best season for exterior painting in Mornington Peninsula?
Spring and autumn offer the most stable weather, avoiding both summer heatwaves and winter dampness.
Can I DIY exterior painting, or should I hire a professional?
If you’re confident with tools and safety equipment, DIY is possible. However, larger projects or homes with height challenges are often best left to professional painters.